A Beginner's Guide to Packrafting Calm Rivers
A packraft is a small inflatable boat that packs down to roughly the size of a sleeping bag and comes back to life with a few minutes of pumping. That single fact explains why so many people end up on a river they would never have reached otherwise: you can carry the boat on a bus, strap it to a bicycle, walk it up a bank, and put in wherever the water looks inviting. The appeal isn't whitewater heroics. It's a slow, quiet float through a landscape you normally only see from a road.
Calm rivers are where packrafting makes the most sense for a first season. You learn how the boat responds, how current pushes a hull that weighs very little, and how to read a river without the pressure of a rapid coming up fast. What follows is the version of the advice worth having before your first launch.
Start with the boat you can actually carry
Packrafts sit in a narrow band of designs: a single-chamber or multi-chamber inflatable hull, an optional spray skirt, and either a double-bladed paddle or, less commonly, a canoe-style single blade. For calm rivers, a simple open boat with a modest rocker and no skirt is plenty. You will not be rolling it. You will be sitting in it, looking around, and occasionally dragging it over a shallow gravel bar.
Two features are worth paying attention to. First, the payload: you want enough volume to float you plus a daypack without sitting low. Second, the seat and backband. A cheap seat turns a two-hour float into a two-hour backache, and there is no fixing that on the water. If you are renting, ask for the boat with the better seat rather than the lighter one.
The gear that earns its place
You need less than the internet suggests. You do need the right things.
- A properly fitted buoyancy aid. Wear it zipped and adjusted from the moment you launch, not tucked behind the seat. Buy or borrow one sized for your body, not one that "roughly fits".
- A double-bladed paddle sized to your height, with a spare split paddle if you are going anywhere remote.
- A pump with the correct valve fitting, plus a repair patch and a small tube of adhesive. Test the patch kit at home, not on a gravel bank.
- Quick-drying clothes, not cotton. Rivers are colder than the air by a good margin, even in July.
- Footwear with grip that you don't mind soaking. Slippery stone at the put-in causes more trouble than the river does.
- A dry bag for phone, keys and a layer. Clip it to the boat.
- Sun protection and water — a hat, and more to drink than you think, because you will be sitting in the sun for hours.
Skip the roof rack, skip the trailer, skip the paddling jacket you don't need yet. Add a throwline and a whistle if you progress to busier water.
How to choose a forgiving river
The best first river is boring in the most useful way: a steady current, no obstacles you can't see from a standing position, and an easy exit at the end. Here is what to look at before you commit.
Gradient, not length
Gradient — how much the river drops over distance — tells you more about difficulty than kilometres do. A slow, meandering lowland river with a gentle fall is exactly what you want. Steep sections mean rocks, chutes and fast water, and packrafts are light enough to be pushed around by all of it.
Obstacles you must ask about
Weirs, low bridges, fish traps, hydro diversions and fallen trees do not appear on most maps and do not show up in photos. Ask a local paddling club, a fishing shop, or the nearest boat hire business. People are generous with this information. A single low weir can turn a gentle float into a serious problem, so never assume a river is clear because the map looks tidy.
Access and a short first day
Pick a route of five to eight kilometres. That is a couple of hours of easy floating with time to stop. Confirm that you can legally launch and land at both ends — access rules vary enormously between countries and even between neighbouring rivers, so check with the local authority or landowner rather than guessing. If in doubt, an out-and-back works well: paddle gently upstream for an hour, turn around, and let the current bring you home. No shuttle, no logistics, no waiting on a stranger.
Paddling basics for a slow river
Most of your steering happens before you take a stroke. Sit upright, knees or feet braced, weight centred, and look where you want to go rather than at the paddle. The boat follows your eyes more than you expect.
For the forward stroke, plant the blade near your toes, keep the shaft fairly vertical, and pull the boat past the blade rather than dragging the blade through the water. Rotate your torso and let the bigger muscles do the work; arms alone tire quickly. Keep the stroke short and repeatable. On a calm river, a gentle rhythm beats a powerful one every time.
Use small corrections early. A short sweep or a couple of quick strokes on one side will hold your line long before you notice you are drifting towards a bank. In moving water, keep the bow pointed slightly downstream of where you want to end up — the current will carry you across. If you feel the boat turning, lean gently into the turn and keep your weight low. Never stand up in the boat to look around; pull into the shallows and get out properly.
Launch, shuttle and river manners
Arrive with the boat inflated and the gear already inside it. Inflating at the water's edge is where paddles get lost and valves get grit in them. Check that the boat is firm — soft boats track badly and are harder to steer — then carry it to the water, get in at the shallowest sensible spot, and push off.
Give other river users room. Anglers have usually paid for the bank and often prefer a wide berth; pass slowly, low and quiet, and ask which side they would like you to take if it isn't obvious. Birdlife nests on gravel bars and in banks in spring, so keep your distance and don't land where you can see activity. Take everything out with you, including the sandwich wrapper that falls out of a pocket. River clean-ups exist because people didn't.
Your first hour, step by step
- Inflate fully, fit the seat, and load the dry bag before you leave the car.
- Put on and adjust the buoyancy aid. Zip it. Check the strap ends aren't dangling.
- At the water, look downstream for 200 metres and identify your first stopping point.
- Launch into shallow water, sit down, and take ten slow strokes to feel the balance.
- Practise a turn: three strokes on one side, then three on the other. Note how far you drift.
- Paddle to your stopping point deliberately, and get out to check the boat and your gear.
- Repeat, extending the distance each time you feel settled.
Before you drive to the river
Do a five-minute check the night before: pump, patch kit, paddle, buoyancy aid, dry bag, water, a warm layer, and a printed or downloaded map with the put-in and take-out marked. Tell someone where you are going and when you expect to be back. Check the weather and the river level; if the water is high, brown or moving faster than it did last week, choose another day. Rivers change, and a route that was gentle in June can be a different proposition after three days of rain.
And keep the first trip small. A short float on a slow river, with a stop for lunch on a gravel bar and a dry bag of warm clothes waiting at the car, teaches you more than a long day ever will. The second trip can be longer.
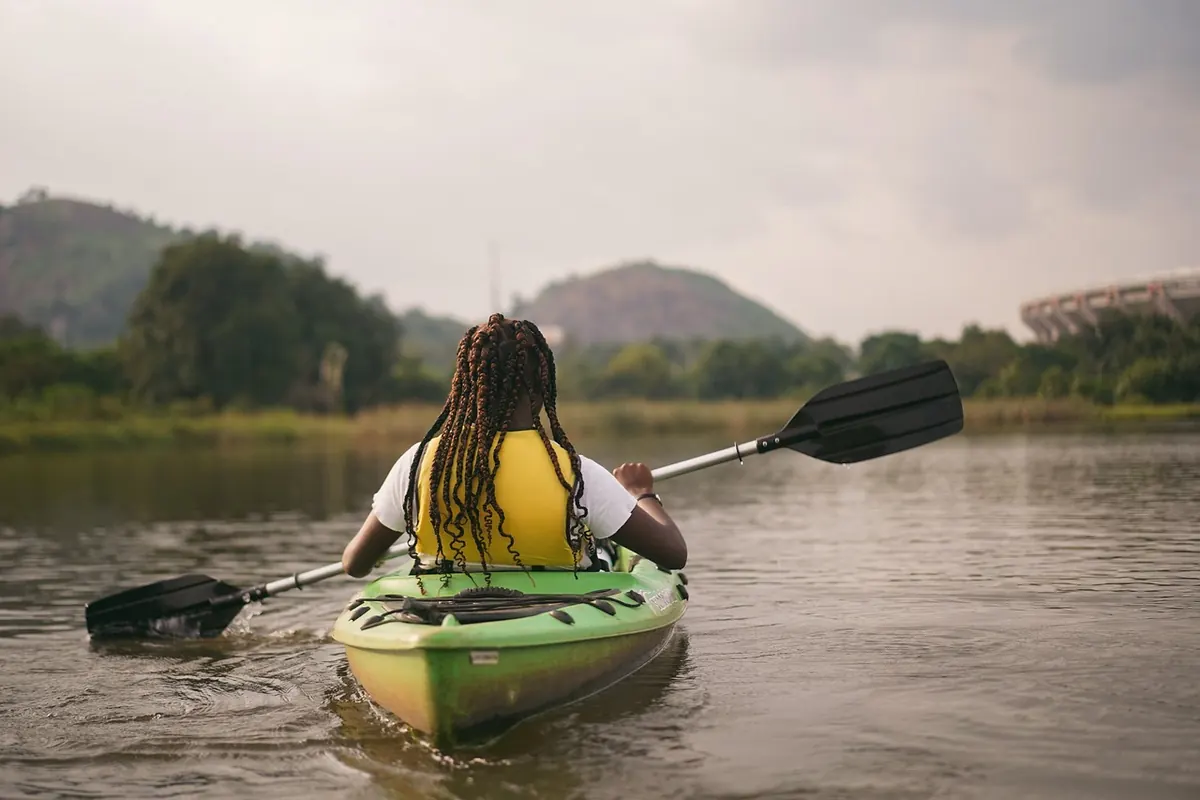
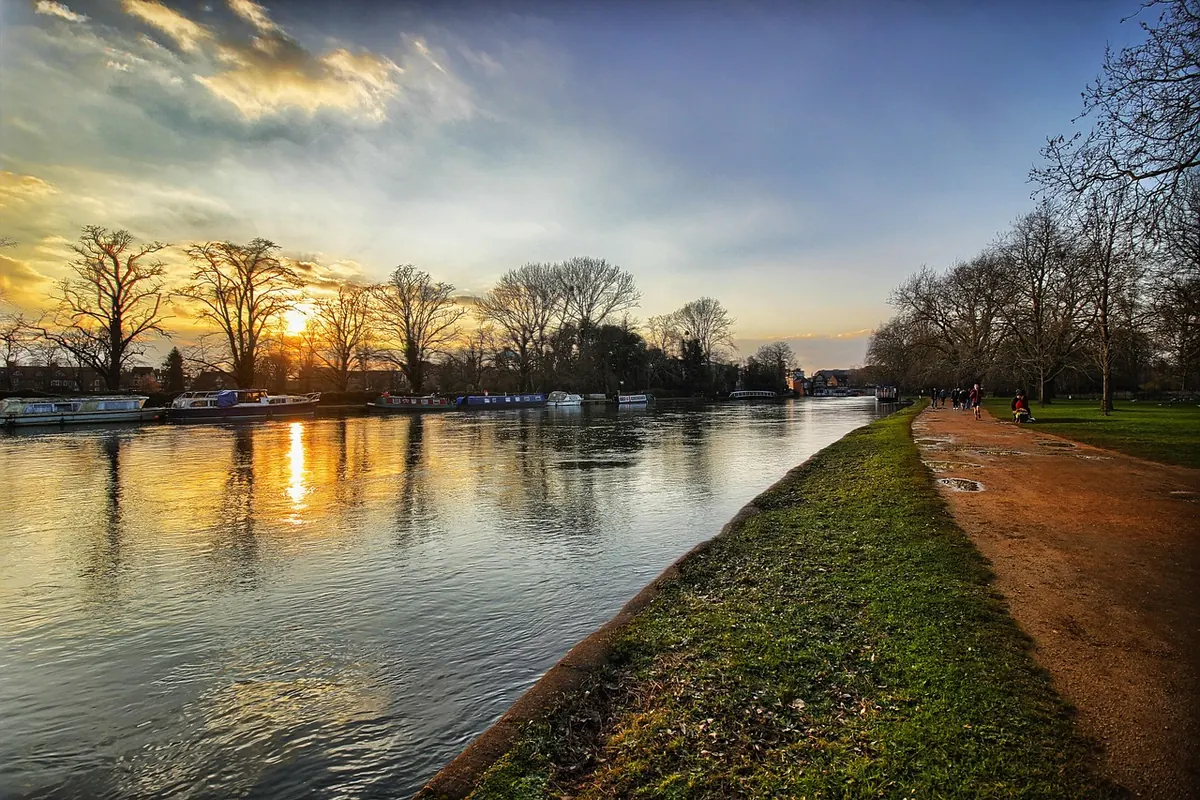
Photo: LifeOfDapo / Pixabay
River Towns vs. Riverside Villages: Choosing Where to Stay for a Slow Weekend
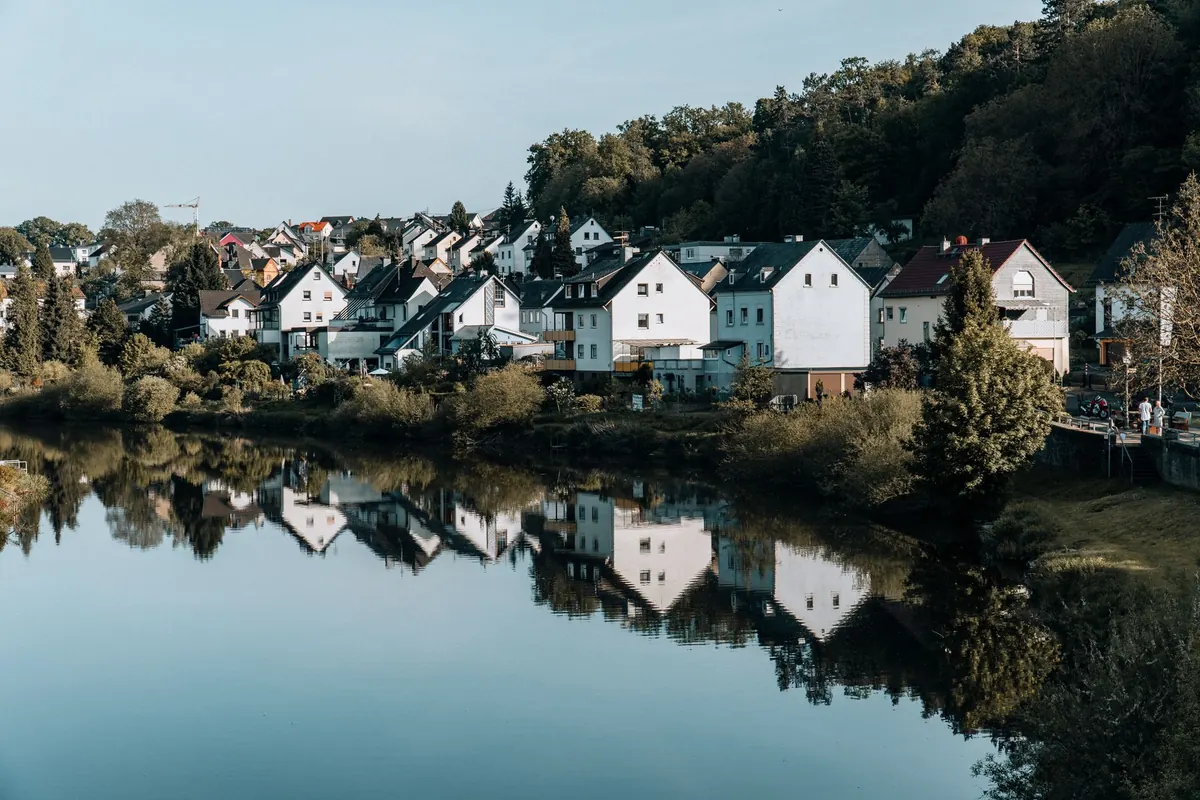
A river town gives you a station, a market and dinner options; a riverside village gives you mist, quiet...
What to Wear for a Cold-Weather River Walk: A Seasonal Checklist
A practical, season-by-season guide to layering, footwear and small essentials so a windy, muddy or frosty...
About Us